

What Is Toy Restoration? A Complete DIY Guide
TL;DR:
- Toy restoration involves cleaning, repairing, and preserving toys to restore their original or near-original condition, often increasing sentimental and monetary value. It requires careful identification of materials, gentle cleaning methods, structural repairs, and conservative aesthetic touch-ups using non-toxic supplies, with safety and proper preparation being essential. Successful restoration emphasizes documentation, organization, and reversible, non-toxic techniques to ensure the toy’s value and safety for future use or display.
Toy restoration is defined as the process of cleaning, repairing, and preserving toys to return them to original or near-original condition. It combines hands-on craftsmanship with material knowledge, covering everything from vintage tin cars and plush dolls to plastic action figures and battery-powered RC vehicles. Whether you are rescuing a childhood keepsake or building a collector’s display piece, the toy restoration process draws on techniques borrowed from conservation, fine arts, and basic home repair. Projects range from a few hours to several weeks, and basic supplies often cost under $15.
What is toy restoration, and why does it matter?
Toy restoration, also called toy refurbishment or toy conservation, is the practice of bringing damaged or deteriorated toys back to a functional or display-worthy state. The importance of toy restoration reaches beyond aesthetics. A restored toy can hold significant sentimental value, preserve cultural history, and in the case of rare collectibles, maintain or increase monetary worth.
Collectors who focus on vintage toy restoration treat original paint, decals, and parts as irreplaceable assets. Hobbyists approaching it as a DIY project care more about function and appearance. Both groups benefit from understanding the same core principles: clean carefully, repair conservatively, and document everything.
The materials most commonly restored include ABS plastic, PVC, die-cast metal, fabric, and electronic components. Each material responds differently to cleaning agents, adhesives, and heat, which is why knowing what you are working with before you start is the single most important step in any toy refurbishment guide.
What are the common toy restoration techniques and tools?
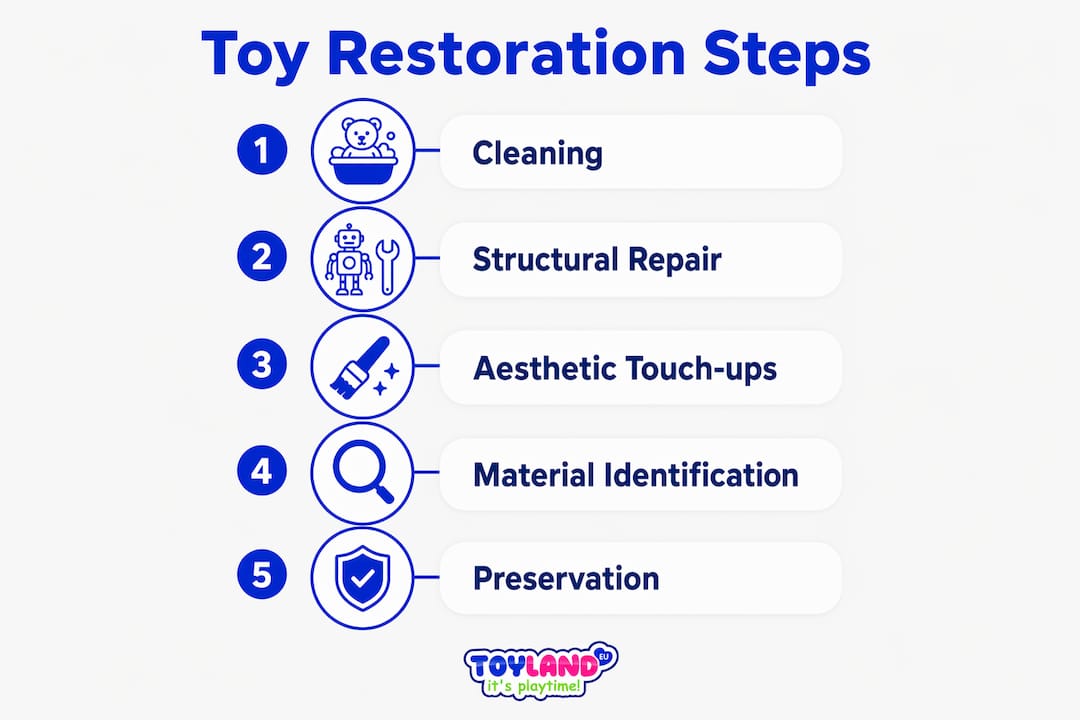
The toy repair techniques used by DIY restorers fall into four main categories: cleaning, structural repair, aesthetic touch-up, and mechanical fixes.
Cleaning methods
Surface cleaning is always the first step. Isopropyl alcohol (70% concentration) removes grime, marker stains, and adhesive residue from hard plastics without damaging most finishes. For plush toys, safe cleaning methods include spot treatment with mild dish soap and cold water, followed by air drying. Battery corrosion in electronic toys is often reversible: a cotton swab dipped in white vinegar or a baking soda paste treats oxidation without requiring full mechanical disassembly.
Structural repair
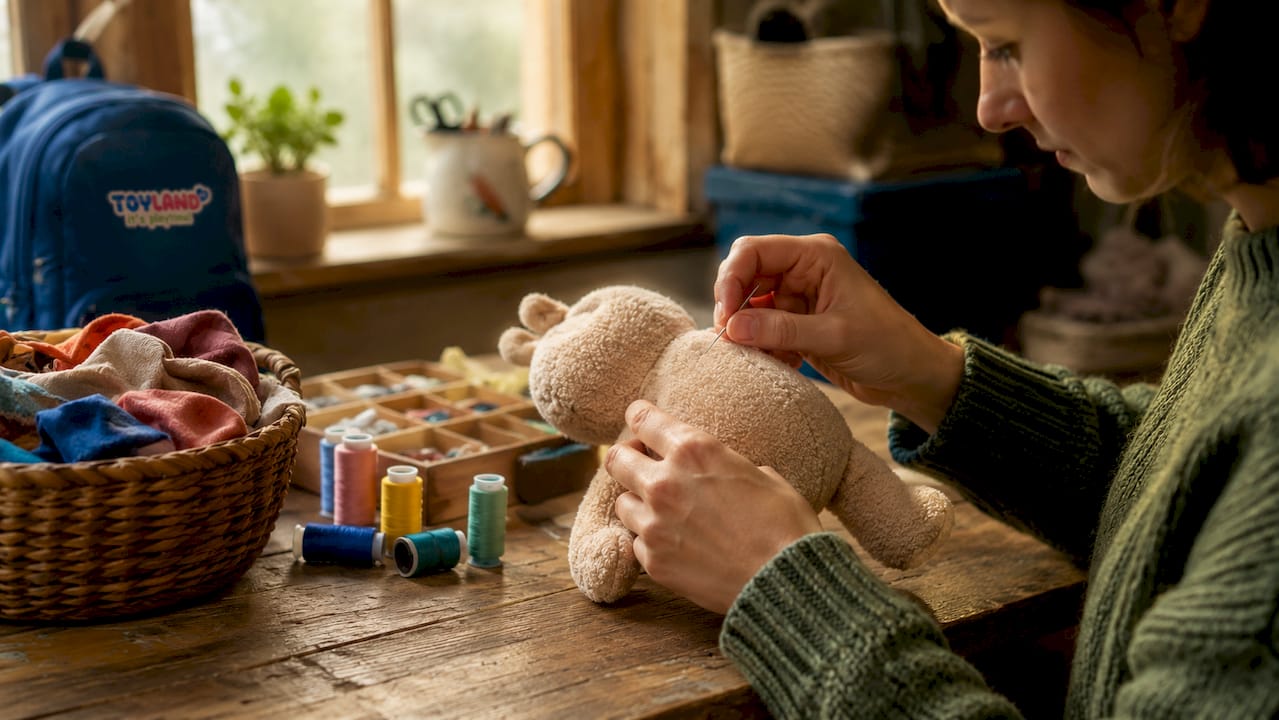
For plush toys, the ladder stitch is the standard repair method. It closes seams invisibly from the outside and holds firmly under normal play stress. For plastic parts, cyanoacrylate adhesive combined with baking soda creates a fast-setting, rigid bond that fills small gaps and cracks. Sewing kits and adhesive sets typically cost less than $5–$10, making structural repair one of the most affordable entry points in the hobby.
Aesthetic touch-ups
Acrylic paints are the standard choice for toy repainting. They are water-based, non-toxic, and available in hundreds of colors. Matte or satin finishes match most original toy surfaces better than gloss. Gloss varnish tends to look artificial on older toys and can signal a poor restoration to experienced collectors.
Common DIY toolkit
- Isopropyl alcohol (70%)
- Cyanoacrylate (super glue) and baking soda
- Non-toxic acrylic paints and fine brushes
- Needle and thread (ladder stitch for plush)
- Soft-bristle toothbrush for scrubbing
- Craft supplies from sources like CraftSuPrint for AP certified materials
- Magnifying glass and tweezers for small parts
Pro Tip: Always test any cleaning agent or adhesive on a hidden area of the toy first. A small patch test on the underside of a foot or inside a joint takes 60 seconds and can prevent irreversible surface damage.
How do different toy materials affect restoration methods?
Material identification is the foundation of safe toy restoration. Getting this wrong is the most common beginner mistake, and it can cause permanent damage in minutes.
Plastic types: ABS vs. PVC
ABS (acrylonitrile butadiene styrene) is rigid and used in most action figures, LEGO bricks, and hard-shell toys. PVC (polyvinyl chloride) is softer and more flexible, common in rubber ducks, squeeze toys, and some doll bodies. Incorrect solvents or heat can warp or melt both materials, but PVC is significantly more sensitive. Acetone, for example, dissolves PVC almost instantly and will damage ABS surfaces as well.
| Material | Common toys | Safe cleaner | Avoid |
|---|---|---|---|
| ABS plastic | Action figures, building blocks | Isopropyl alcohol | Acetone, high heat |
| PVC | Rubber figures, squeeze toys | Mild soap and water | Solvents, bleach |
| Die-cast metal | Vintage cars, trains | Mineral spirits (diluted) | Rust removers with acid |
| Fabric/plush | Stuffed animals, dolls | Mild dish soap, cold water | Machine washing, bleach |
Vintage vs. modern toys
Vintage toys manufactured before the 1980s often used materials that are no longer in production, including certain lead-based paints and early plastics that become brittle with age. Modern toys use safer, more stable polymers. When restoring vintage pieces, AP certified, non-toxic adhesives and paints protect both the restorer and any child who may later handle the toy. For collector-grade vintage toy restoration, always check toy material safety guidelines before selecting any chemical product.
Pro Tip: If you cannot identify the plastic type, search the toy’s manufacturer name and production year online. Many collector communities have already cataloged the exact materials used in popular toy lines.
What are the key steps to prepare a toy restoration project?
Thorough preparation consistently separates successful restorations from failed ones. Skill matters less than organization and patience.
- Photograph the toy from every angle before touching it. Document cracks, paint loss, missing parts, and original markings. These photos serve as your reference throughout the project and prove original condition if you later sell the piece.
- Work on a soft, non-slip mat. A silicone baking mat or foam pad prevents small parts from rolling away and protects delicate surfaces from scratching during disassembly.
- Sort and label every part you remove. Use small labeled zip-lock bags or a muffin tin to organize screws, springs, and decorative elements. Documenting tiny parts before disassembly is the single most effective way to prevent permanent reassembly failure.
- Choose the right workspace environment. Good lighting and ventilation are non-negotiable. Adhesives and solvents release fumes even in small quantities. A well-lit space also helps you spot hairline cracks and faded paint details you would otherwise miss.
- Plan your steps before you start. Write out the sequence of repairs in order, from cleaning to structural fixes to painting. Rushing the sequence, such as painting before cleaning, is one of the most common mistakes beginners make.
What safety tips should DIY restorers keep in mind?
Safe practice in toy restoration protects your health, the toy’s integrity, and anyone who will use or display the finished piece.
- Use AP certified, non-toxic materials whenever the restored toy may be handled by children. The Art & Creative Materials Institute’s AP seal confirms a product meets child safety standards.
- Avoid over-restoring vintage toys. Conservative conservation is the standard in collector circles. Replacing original parts or repainting large surfaces can reduce a toy’s value significantly. Reversible repairs are always preferred.
- Check for choking hazards after repair. Any small part you reattach must be secured firmly. A loose eye on a plush toy or a detached wheel on a die-cast car becomes a hazard for young children.
- Disclose repairs when selling or gifting. Ethical restoration means being transparent about what was fixed, repainted, or replaced. Buyers and recipients deserve accurate information.
- Dispose of chemicals responsibly. Solvents, old paints, and adhesive containers are often classified as household hazardous waste. Check your local municipality’s disposal guidelines rather than pouring them down the drain.
For a deeper look at non-toxic material standards, the non-toxic toy guide from Toylandeu™ covers current safety benchmarks in detail.
Key Takeaways
Toy restoration succeeds when you combine the right materials, careful preparation, and conservative repair techniques tailored to each toy’s specific material and condition.
| Point | Details |
|---|---|
| Define the project scope | Restoration ranges from a quick clean to a multi-week rebuild; set realistic expectations before you start. |
| Match techniques to materials | ABS, PVC, fabric, and metal each require different cleaners and adhesives to avoid permanent damage. |
| Document before you disassemble | Photos and labeled parts bags prevent reassembly failure and preserve proof of original condition. |
| Prioritize non-toxic materials | Use AP certified paints and adhesives, especially for toys that children will handle after restoration. |
| Restore conservatively | Over-restoring vintage toys reduces collector value; keep original parts and prefer reversible repairs. |
Why restoration taught me more than any craft class ever did
I picked up my first restoration project on a whim: a cracked 1980s die-cast metal car I found at a garage sale for fifty cents. I expected a weekend project. It took three weeks, two ruined paint attempts, and a lot of patience I did not know I had.
What I learned is that most beginners focus on the wrong thing. They obsess over finding the perfect paint color or the right adhesive, when the real work happens in the preparation phase. The restorers who get clean results are the ones who spend twice as long documenting and organizing as they do actually repairing.
I also learned that the value of vintage toys is not just monetary. The process of restoring a toy forces you to study it closely, understand how it was made, and respect the craftsmanship behind it. That is a different kind of education. If you are just starting out, join an online restoration community before you buy a single supply. The collective knowledge in those forums will save you from the most expensive beginner mistakes, and the community is genuinely generous with advice.
— Thane Holland
Start your next project with the right toys from Toylandeu™

If restoration has you thinking about your next collectible or the toy you want to maintain for years to come, Toylandeu™ carries a catalog of over 30,000 toys built for durability and long-term enjoyment. The gesture-controlled stunt car is a strong pick for RC hobbyists who want a modern toy worth caring for. For collectors and DIY enthusiasts who love articulated figures, the BJD ball jointed doll is a natural fit. Toylandeu™ ships worldwide with free delivery, so your next project is always one order away.
FAQ
What is toy restoration in simple terms?
Toy restoration is the process of cleaning, repairing, and preserving a toy to return it to its original or near-original condition. Projects can take a few hours or several weeks depending on the damage and toy type.
What tools do I need to start restoring toys?
A basic kit includes isopropyl alcohol, cyanoacrylate adhesive, non-toxic acrylic paints, a needle and thread, and soft brushes. Most beginners can get started for under $15.
Can over-restoring a toy reduce its value?
Yes. Replacing original parts or repainting large areas of a vintage toy can significantly reduce its collector value. Conservative, reversible repairs are always the preferred approach for collectible pieces.
Is toy restoration safe to do at home?
Toy restoration is safe when you use AP certified, non-toxic materials, work in a well-ventilated space, and follow proper chemical disposal guidelines. Always test products on a hidden area before applying them to visible surfaces.
How do I know what material my toy is made from?
Check the toy’s underside or packaging for material markings. If none exist, search the manufacturer name and production year in collector forums. Many communities have already documented the exact materials used in popular toy lines.